How to Add an Addon Domain in GoDaddy with Web Hosting Deluxe
Add an Addon Domain in GoDaddy with Web Hosting Deluxe (Step-by-Step Guide).
If you are using GoDaddy Web Hosting Deluxe, you might notice that there is no “Addon Domain” option under the Domains section in your hosting dashboard.
This can be confusing if you have a domain registered with another registrar and want to host it on your GoDaddy Deluxe plan as an addon domain.
In this guide, I’ll walk you through exactly how to add an addon domain in GoDaddy using cPanel, even if your domain is registered elsewhere. Follow these steps carefully to avoid common mistakes.
Why Add an Addon Domain in GoDaddy?
An addon domain allows you to host multiple websites on the same hosting account.
This means you can use your Web Hosting Deluxe plan to manage different websites under separate domains — each with its own files and directories.
Step-by-Step: Adding an Addon Domain in GoDaddy Web Hosting Deluxe
1. Log in to Your GoDaddy Account
- Go to GoDaddy.com and log in to your account.
- Click the down arrow beside your name (top right corner) and select My Products from the drop-down menu.
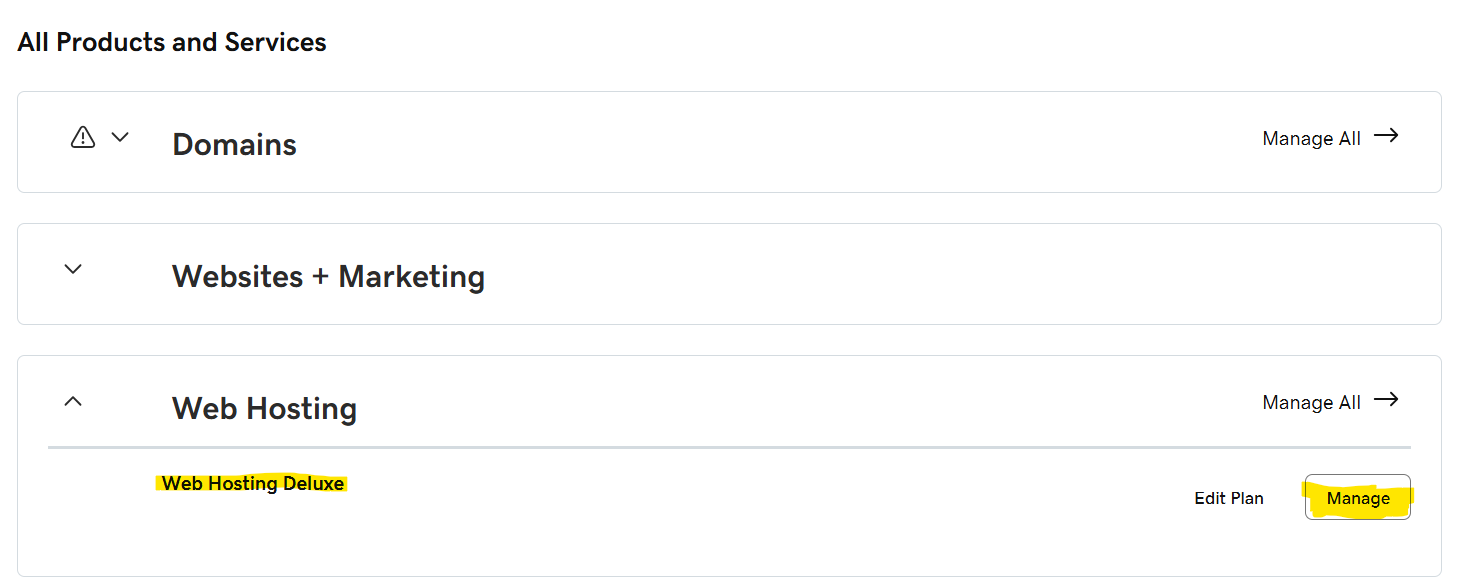
2. Open Your Hosting Management
- On the My Products page, scroll down to find your Web Hosting Deluxe plan.
- Click the Manage button.
3. Access cPanel
- On the next page, click cPanel Admin to open your hosting control panel.
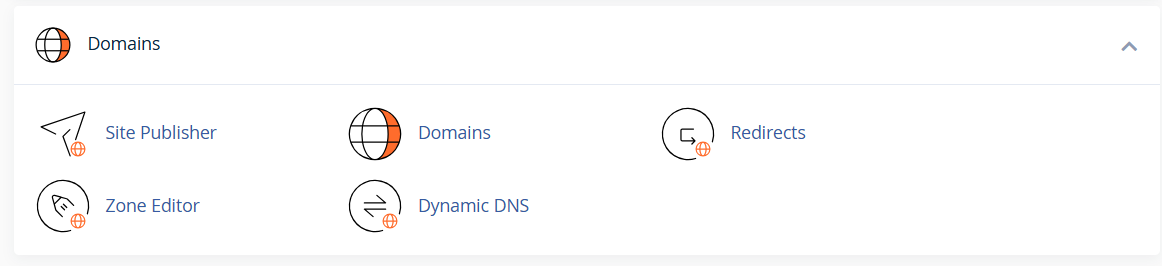
4. Go to the Domains Section
- In cPanel, scroll down to the Domains section and click Domains.
- Then click the Create A New Domain button.
5. Add the Addon Domain
- In the Domain Name field, enter the domain you want to add.
- The Document Root (directory path) will auto-fill. You can change it if you want a custom folder name.
- Click Submit.

Note: You can also create subdomains from this page.
6. Update Nameservers for External Domains
If your domain is registered with another registrar, you’ll need to point its nameservers to GoDaddy.
- While still logged into GoDaddy, go to the DNS Hosting page.
- Find your newly added addon domain and click on it.
- On the next page, you’ll see the nameservers for your domain.
- Copy these nameservers and update them in your domain registrar’s DNS settings.
7. Upload Your Website Files
- Each addon domain has its own folder in your hosting directory.
- Upload your website files to that folder via cPanel File Manager or FTP.
- Once the nameservers have updated (usually within a few hours), your site will be live.
Troubleshooting Tips
- If the site doesn’t load after updating nameservers, clear your browser cache or check DNS propagation.
- Make sure the document root folder contains your index.php or index.html file.
- Contact GoDaddy support if DNS changes take longer than 48 hours.
Adding an addon domain in GoDaddy Web Hosting Deluxe is simple once you know where to look in cPanel.
Even though the “Addon Domain” option isn’t visible in the default dashboard, you can still manage multiple websites easily through cPanel → Domains → Create A New Domain.
By following the above steps, you’ll have your new domain hosted on GoDaddy in no time. If you face any issues during setup, feel free to leave a comment below — I’m happy to help.